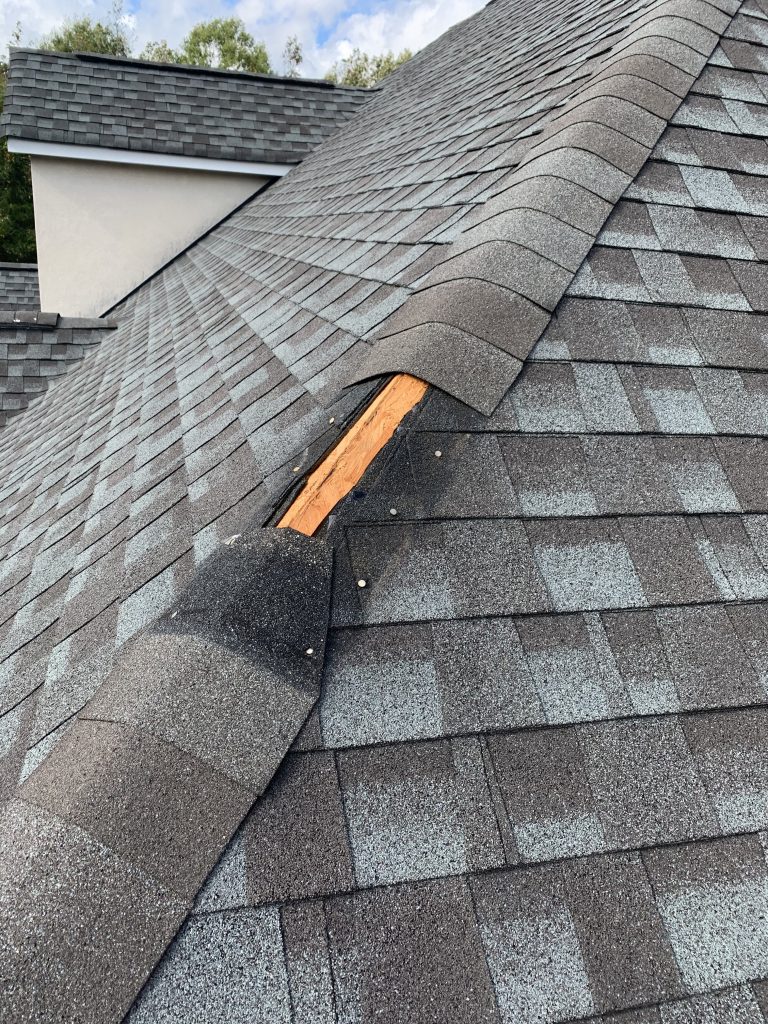
We get out fair share of storms and windy weather here in the Charlotte Metro Area and that can certainly take its toll on your roof. After a strong storm passes walk out side and you will likely see tree debris strewn across your yard, but here’s a tip: Don’t just look down at the ground level, look up at your roof as well! You may see some areas where you will need to replace roof shingles.
Step 1 – Assess Damaged Roof Shingles
The first thing you should do is determine if this will be a “DIY” project or something you should leave to the pro’s. If there is a lot of damage, you don’t feel comfortable getting on the roof, or you don’t have the right tools for the job, ask a professional roofer for help.
Working on a roof can be very dangerous. Professional roofers will repair missing, damaged and loose shingles fairly easily and quickly. This should not break the bank. After all, there is no sense in risking injury just to save a few bucks.
That said, if you feel confident you are able to safely repair the damage yourself, go ahead and move on to step 2.
Step 2 – Collect The Right Materials To Replace Roof Shingles
Here’s what you will need to properly and safely replace loose or missing shingles (you know, beside the obvious ladder, safety gear and solid footwear):
- Pry Bar
- Hammer
- Shingle Sealant
- Roofing Nails
- Tool Pouch (Holds the items above so your hands are free)
- Replacement Shingles (This part can be tricky. It’s not always easy to find a shingle that matches those on your roof. Hopefully you are fortunate enough to have a few left over from when the roof was installed)
Step 3 – Replace Damaged Roof Shingles
Before getting started it is important to pick a day when the weather is just right. If it’s too hot the shingle sealant bond will be difficult to break apart; too cold and the shingles may crack or break. Make sure your ladder is set up so you can safely get on and off your roof.
How To Remove A Loose Shingle
- Slide your pry bar up under the bottom edge of the shingle to break the sealant bond between the shingles. This should be done to both the shingle you are replacing and the shingle directly above it.
- Slide the pry bar under the shingle far enough to wear it is under the nail holding it on and press down. The nail will begin to lift slightly, then stop.
- Remove the pry bar and use it to press down on the shingle. This will create space between the shingle and the lifted nail.
- Slide the pry bar under the lifted nail and remove it by pressing downward on the bar.
- Completely remove all the nails holding the damages shingle in place.
- Repeat this step for the shingle directly above it.
- Remove the loose shingle
How To Replace A Loose Or Missing Shingle
- Slide a new shingle into place and make sure the exposure is correct.
- Lift the bottom of the new shingle and apply sealant, then press down so it lays flat.
- Lift the bottom of the next shingle and nail into place how it was nailed before.
- Apply sealant and press down so it lays flat.
- Repeat for the shingle above to ensure both shingles are adequately nailed and secure.
Well Done
Congratulations! You have officially repaired your roof and now it’s ready for whatever Mother Nature throws at it next. Go ahead and pat yourself on the back (once you are safely on the ground) and be sure to tell your friends “Yep, that’s right, I fixed my own roof”.
McToolman To The Rescue
When you notice roof damaged, it’s best to take care of it quickly before collateral damage occurs. If you aren’t the DIY type of person or simply feel better letting a professional do the work, then contact McToolman today! Our expert roof repair technicians are here to help inspect your roof for damage and replace roof shingles that are damaged. Give us a call at 704-918-6248 and we’ll be happy to help!

